
Homemade Bread Bowls
Ingredients:
2 tsp active dry yeast
2 1/2 cups warm water
3 cups bread flour
4 cups AP flour
2 tsp salt
2 Tbs olive oil
1 egg
1 Tbs water

Sprinkle your yeast over your warm water and stir until dissolved.
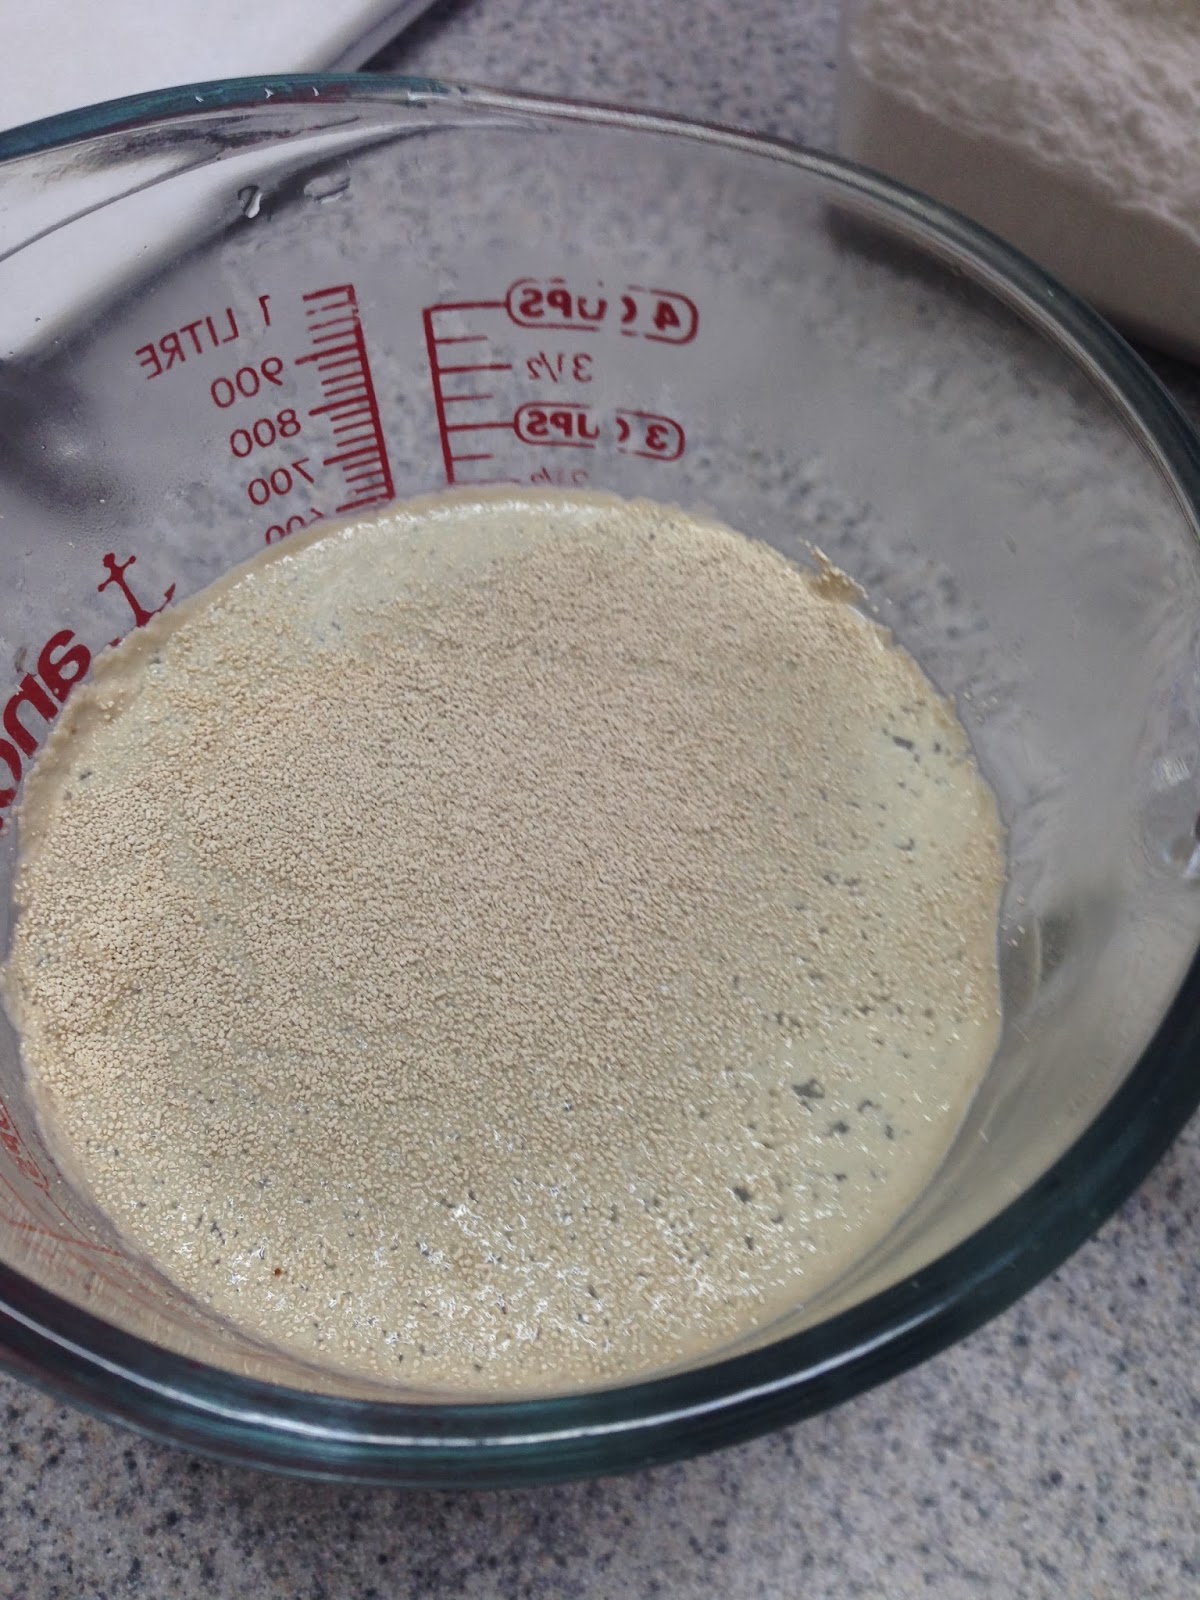
Let the yeast mixture sit for 5-10 minutes and make sure bubbles have started to form on top and it looks slightly foamy. If not, your yeast is probably dead. Get a new batch and start over.

In the bowl of your mixer, add all of the bread flour, 2 cups of the AP flour, salt, oil and your yeast and water mixture.

Mix to incorporate everything and form a loose dough.

Add the rest of your AP flour 1/2 cup at a time until the dough completely pulls away from the sides and the bottom of the bowl. You may not use all the flour, or you may need a little extra, just make sure you add it slowly and don't add too much flour. The dough should still feel soft to the touch, but not be overly sticky.

Note: At this point in the recipe, my beloved 6 qt Kitchen Aid mixer decided to die. I shed actual tears. I finished kneading the dough on a floured surface, so thus the pictures changed a bit. Knead the dough in your mixer or by hand until the dough is smooth (5-10 minutes)

Form your dough into a ball and place it in an oiled bowl, making sure you turn the dough over to ensure both sides are oiled.

Cover you bowl in plastic wrap and set somewhere warm and draft free to rise until its doubled in size. This take 1-2 hours depending on the room temperature and humidity.

After the dough has doubled, punch it down and turn it out onto a clean surface with enough room that you will be able to form the balls that will become your bowls.


Go ahead and prep cookie sheets for you bowls to bake on, they will complete their second rise here.

I've used this recipe to make 6 or 8 bowls. To be honest, the 6 were a little too big. Making 8 makes for a better serving size. Roll your dough into a log shape, cut in half, cut that half in half again and then one more time to get 8 fairly equal portions.

See, 8 little bread bowls in the making.

Taking one dough ball at a time, squish as much excess air as possible and then form your hand into a C shape with your little finger and side of hand resting on the counter. Move your hand and the dough in a circular motion. After a little practice, you'll see that the dough starts to become a fairly regular sphere shape.

Place your dough onto your prepared cookie sheet, with plenty of room to rise.

Cover the dough and set it aside to double in size.

When they've doubled in size, its time to preheat your oven to 400 degrees and prepare egg wash to brush the outsides of the bowl with. Break an egg into a bowl and add 2 Tbs water.

Whisk together until well incorporated and the egg is well beaten.

Place relief cuts in the top of your bread bowls. They can be in any pattern you like, they're just to keep the dough from cracking on the surface as it bakes.

Paint all of your bowls with the egg wash, making sure to cover the top and all sides.

Bake for 15 minutes, then take them out to rotate and repaint with the egg wash. Bake for another 10-15 minutes.

After your bowls have cooled enough to be handled easily, use a small serrated knife to cut a circle in the top, but careful not to cut all the way through, kind of like cutting the top of a pumpkin. I've found that this is a great use for a grapefruit knife.

Remove and save the top of your bowl.

Cut a small portion of the top off, leaving a nice thick lid and the using a combination of your knife and your fingers, clean out the bread from the inside of the bowl, leaving thick enough walls and bottom to hold in your soup. Now you're all set to put whatever kind of thick soup, chowder, chili or bisque you'd like!

Side note: My amazing husband came home and took my prized Kitchen Aid apart. There was a stripped gear in the transmission from years of heavy use. We ordered a new gear for less than $5! It should be here soon and my baby will be back up and running! In the mean time, I have an older smaller stand mixer to use. We've kept it for stand-by and holiday use. When holiday baking swings into full gear, I can keep 3 mixers running for the better part of a week :) We bake most of our gifts, including take and bake Cinnamon Rolls for all of our teachers and cookie platters for all the neighbors and friends. Keep an eye out on the blog for lots of goodies in the coming weeks!
No comments:
Post a Comment